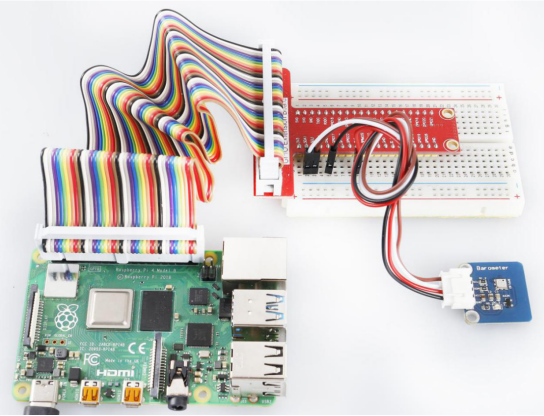
Introduction
The BMP180 barometer is the new digital barometric pressure sensor, with a very high performance, which enables applications in advanced mobile devices, such as smart phones, tablets and sports devices. It complies with the BMP085 but boasts many improvements, like a smaller size and more digital interfaces.
Required Components
– 1 * Raspberry Pi
– 1 * Breadboard
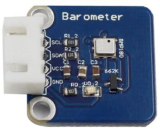
– 1 * Barometer module
– 1 * 4-Pin anti-reverse cable
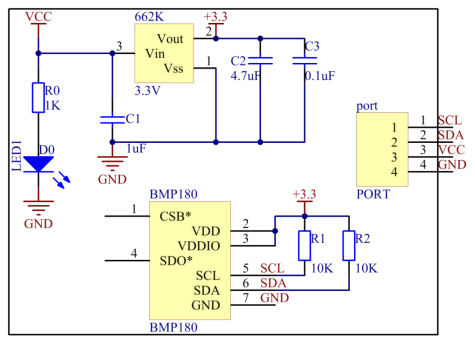
Experimental Principle
Use a barometer to measure air pressure and temperature. The schematic diagram of the module is as follows:
Experimental Procedures
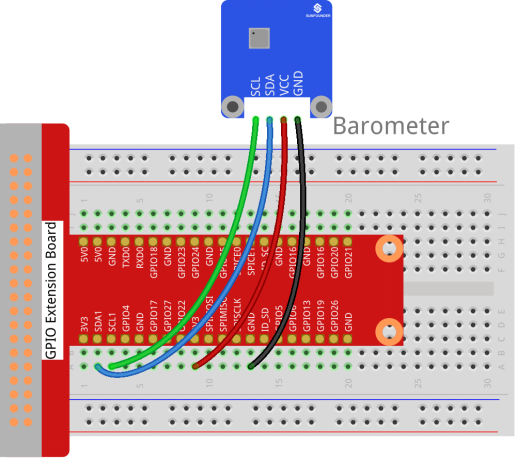
Step 1: Build the circuit.
| Raspberry Pi | GPIO Extension Board | Barometer |
| SCL | SCL1 | SCL |
| SDA | SDA1 | SDA |
| 3.3V | 3V3 | VCC |
| GND | GND | GND |
Step 2: Setup I2C (see Appendix . If you have set I2C, skip this step.)
For C Users:
Step 3: Download libi2c-dev.
sudo apt-get install libi2c-devStep 4: Change directory.
cd /home/pi/SunFounder_SensorKit_for_RPi2/C/31_barometer/Step 5: Compile.
gcc barometer.c bmp180.c -lm -lwiringPi -lwiringPiDevStep 6: Run.
sudo ./a.outFor Python Users:
Step 3: Install smbus for I2C.
sudo apt-get install python3-smbus i2c-toolsStep 4: We’ll need to install some utilities for the Raspberry Pi to communicate over I2C.
git clone https://github.com/adafruit/Adafruit_Python_BMP.git
cd Adafruit_Python_BMP
sudo python3 setup.py install
Step 5: Change directory.
cd /home/pi/SunFounder_SensorKit_for_RPi2/Python/Step 6: Run.
sudo python3 31_barometer.pyNow you can see the temperature and pressure value displayed on the screen.